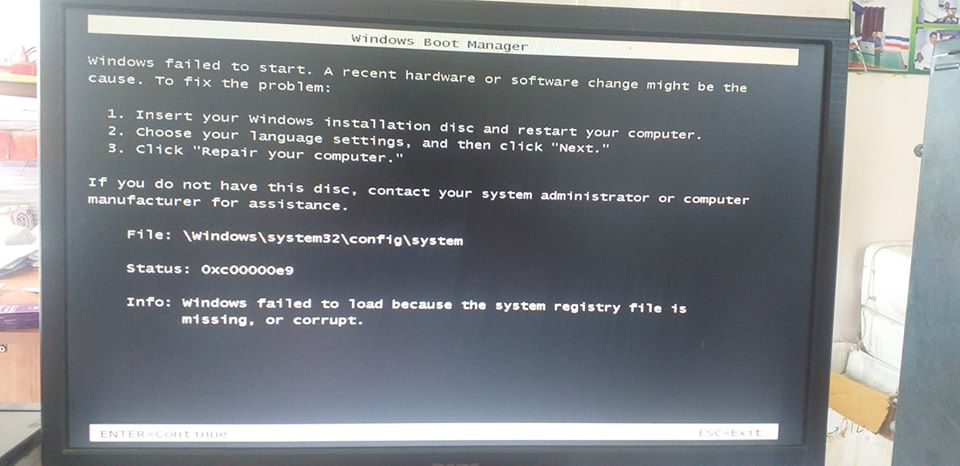
Vi siete fatti prendere dal panico perchè tutto ad un tratto il vostro amato PC con Windows 10 vi ha mostrato una schermata blu con la scritta ”Errore 0xc00000e9″? Beh si, un pò c’è da preoccuparsi ma, in questo articolo, vediamo come risolvere il problema evitando la perdita di tutti i propri dati e cercando di evitare la formattazione del PC.
Come risolvere l’errore 0xc00000e9 su Windows 10
L’errore 0xc00000e9 su Windows 10 sta a dire che il nostro hard disk è andato in protezione per qualche motivo ed è meglio che il sistema operativo si spenga e vada in recovery per evitare la perdita dei dati o la rottura dello stesso.
Vediamo dunque come fare per riaccendere il nostro PC e risolvere questo fastidiosissimo errore:
-
Staccate ogni forma di alimentazione dal PC spento;
-
Sempre con l’alimentazione staccata (se si tratta di un portatile togliete anche la batteria), premete per tre volte consecutive il tasto di accensione del PC;
-
Ora, anche se un pò più complicata come operazione, ma dovreste riuscire ad aprire il case del vostro computer o notebook e staccare momentaneamente l’hard disk dalla presa Sata e dall’alimentazione;
-
Una volta scollegato l’Hard Disk, premete altre tre volte il pulsante di accensione del PC (ancora senza alimentazione) così da scaricare i condensatori ed eventuali accumuli di corrente residui;
-
Rimontate ora l’Hard Disk, collegate al pc solo il cavo di alimentazione, il monitor e la tastiera (evitate altri dispositivi USB aggiuntivi come webcam, joystick ecc.) e provate ad accendere il computer;
-
Se il procedimento è stato svolto nel modo giusto, il problema dovrebbe essere scomparso definitivamente e non dovrebbe più ricomparire